ALSO SEE THIS POST ABOUT USING AMPERSANDS FOR BEM INSTEAD
A few months ago, when I was interning at Viget, I found myself engaged in a conversation about naming conventions. Tommy had read an article about BEM (Block, Element, Modifier) syntax and was explaining the practicality of its use to me. Sure, it seemed like a good idea, but being a little stubborn, I thought of it as a passing trend, and never actually used it.
Well, yesterday I was at SassConf (which was AWESOME by the way), where they showed us new features of Sass 3.3! And it brought back this whole idea of BEM syntax. It really does make a lot of sense — and with the new @at-root directive, your code for it is about to get a whole lot cleaner.
Woah, New Sass Stuff!
First off, to install the brand new version of Sass: just make sure you have Ruby installed (it already is on Macs), then open terminal and type:
gem install sass --pre YAY! Now you have the latest version of Sass! Go get a treat! Be aware that this is an unreleased version since it’s still in development, but why not start playing around in it now?
You can see the feature list here!
A quick primer on BEM:
In short, BEM (Block, Element, Modifier) uses the following pattern of naming conventions for classes:
block{} //the section of content
.block__element{} //an individual element inside of the content section
.block--modifier{} //specifically edited element pieces
Take the following example:
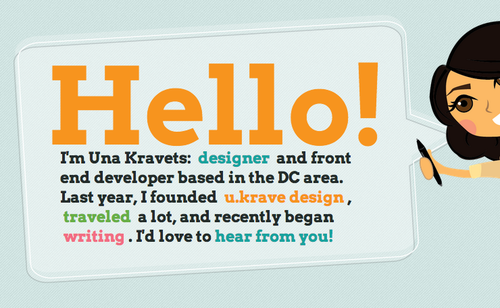
There is a header, some text, and some colored links inside of the text. You could break up the elements in the speech bubble like this:
.speech-bubble{}
.speech-bubble__header{}
.speech-bubble__text{}
.speech-bubble__text--link{}
Lets Get Sassy
This new @at-root feature allows nesting in your Sass files without nesting the output! That’s great for structuring your files without sacrificing speed and efficient output! So let’s see what happens when we try to nest now (I’m also using BEM syntax, and this makes absolutely no sense to do):
SCSS:
// Nesting: (this aint cute. never do this)
.speech-bubble{
 color: purple;
  .speech-bubble__header{
    color: orange;
    }
    .speech-bubble__text{
     color: black;
     .speech-bubble__text--link{
       color: green;
    }
  }
}
CSS Output:
.speech-bubble {
  color: purple; }
  .speech-bubble .speech-bubble__header {
    color: orange; }
  .speech-bubble .speech-bubble__text {
    color: black; }
    .speech-bubble .speech-bubble__text .speech-bubble__text--link {
      color: green; }
Yikes!! But let’s see what @at-root will do for us!
SCSS:
// Nesting, but using @at-root
.speech-bubble{
  color: purple;
   @at-root #{&}__header{
    color: orange;
  }
   @at-root #{&}__text{
    color: black;
     @at-root #{&}--link{
      color: green;
    }
  }
}
CSS Output:
.speech-bubble {
  color: purple; }
  .speech-bubble__header {
    color: orange; }
  .speech-bubble__text {
    color: black; }
    .speech-bubble__text--link {
      color: green; }
Now, that’s SO much better!
You can also get fancier with @at-root by using rules such as “with” and “without.” You can use this, for example, as a different approach to writing media queries.
SCSS:
@media screen and (max-width: 320px){
  .sidebar {
    width: 40%;
    @at-root (without: media screen) {
      width: 100%;
    }
  }
}
CSS Output:
@media screen and (max-width: 320px) {
  .sidebar {
    width: 40%; }
}
  .sidebar {
    width: 100%; }
For more information on the new Sass features, make sure to read the Changelog, and stay tuned for more posts from SassConf!
TL;DR: @at-root is great for nesting without the efficiency loss
Edit:
After all of the awesome discussion going on in the comments, Scott Kellum created this gist to make the syntax of @at-root more concise (read: pretty). So using that mixin„ the earlier example would look like this:
Scott’s Rad Mixins:
//elements get appended with "__" and the $name
@mixin e($name) {
  @at-root   #{&}__#{$name} {
    @content;
  }
}

//modifiers get appended with "--" and the $name
@mixin m($name) {
  @at-root   #{&}--#{$name} {
    @content;
  }
}
SCSS
.speech-bubble{
  color: purple;
   @include e(header){ //header element
    color: orange;
  }
   @include e(text){ //text element
    color: black;
     @include m(link){ //link modifier
      color: green;
    }
  }
}
And we get the same CSS output!
CSS Output:
.speech-bubble {
  color: purple; }
  .speech-bubble__header {
    color: orange; }
  .speech-bubble__text {
    color: black; }
    .speech-bubble__text--link {
      color: green; }
Thank’s Scott!